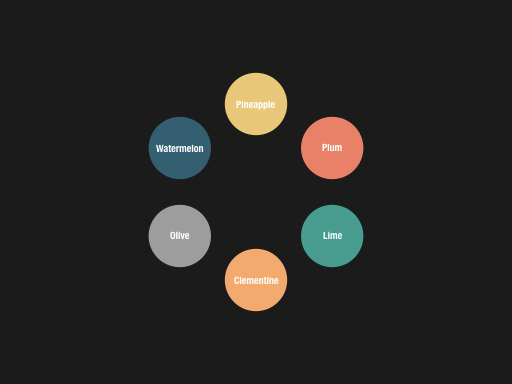
Magic Move is such a powerful feature in Keynote that it makes prototyping animations so much fun and easy. With a bit of creativity, Magic Move can be used to create some very amazing effects which can make your deck more lively and appealing. Today, I would like to share such an example, which gives an overview of all items you want to show and then goes into each of them one by one. This animation was created and used in one of my projects.
Final Effects
Watch it full screen. It’s gonna be a pretty cool animation.
The Basic Approach
The key to create this animation is to create keyframes on each slide, and then use Magic Move to transition from one slide to another.
In the first keyframe, we arrange all the items so that they form a big circle.

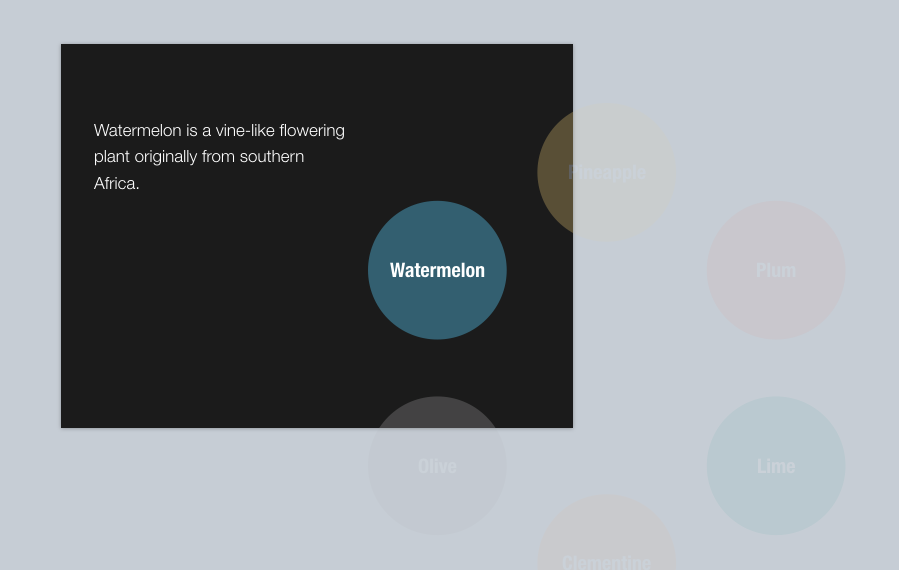
Then for the next keyframe, we scale the entire big circle and at the same time move it towards the bottom right corner. Doing this can create a nice contrast between the left and the right of the screen. It also leaves space on the left for us to add contents for a single item.

To indicate the current item, we set the opacity of all other items except the current item to 30%. Now we are done with the second keyframe.
For the next few keyframes, we just need repeatedly to rotate the big circle so that a different item will show up and become the current item.

With all the keyframes created, we just need to use Magic Move as the transitions between slides. Then our animation is finished. It’s simple, isn’t it?
Download
You can download the Keynote file for this animation here.
Final Thoughts
With Magic Move, the possibilities are endless. Next time, I will share with you another example of item revealing animations. If you would like to learn more about using Keynote for prototyping animations, check out this must-read by Linda Dong.
Do you like this article? Is it useful to you? Leave a comment below, and share it with your friends if you like it. Thanks for reading.

